

How To Color Drawings In Photoshop
How to Colour Illustrations in Photoshop

Black and white illustrations sometimes get passed over because they lack the vibrancy of colored-in graphics, but that can easily be changed. This tutorial will show you how to color in any illustration with the palette of your choice. Being able to drastically change illustrations will give y'all more than flexibility with your designs, even allowing you lot to repurpose illustrations simply by irresolute the colors.
Step 1: Open up the file in Photoshop
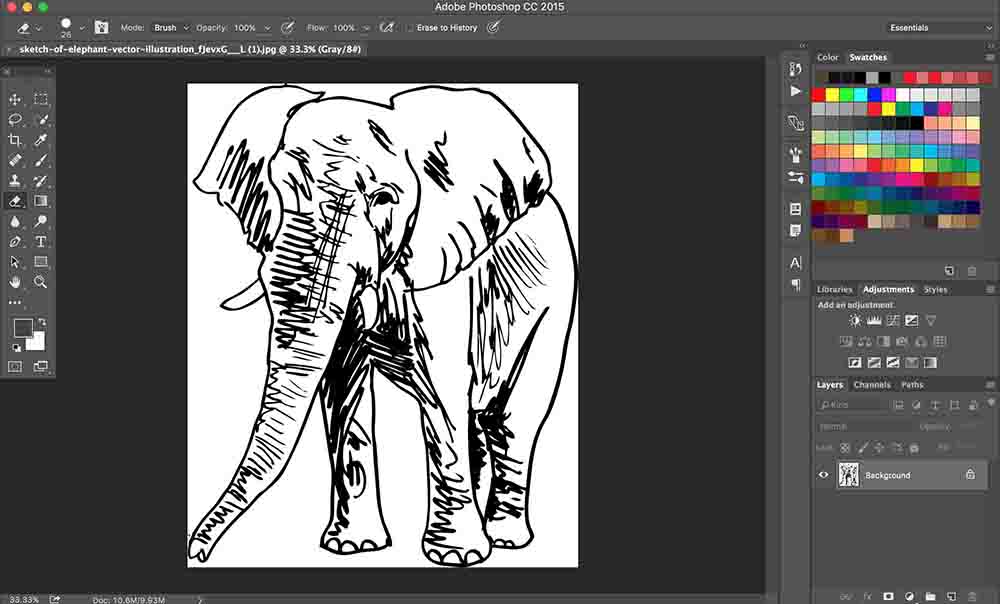
For this tutorial, we'll be using an elephant illustration from the Storyblocks library. Start past downloading the JPG version of the image, and so open it in Photoshop.
Stride Two: Unlock the groundwork and add a new layer
Create a new layer. This layer volition need to get underneath the elephant illustration, merely to do that we showtime need to unlock the background. Click on the lock icon on the background layer (the layer volition get "Layer 0" after you've done this), and then drag "Layer 1" under "Layer 0."

Join Our Creative Community
Access the all-time video tips, blueprint hacks, and deals direct to your inbox.
Step Three: Fill in the gaps
If there are any gaps in the outline of your illustration, make certain to fill them in using the paintbrush tool. Our elephant illustration has one small break in the outline of the left ear, so we just need to connect the two points. Make sure the elephant layer is selected when you lot start painting.

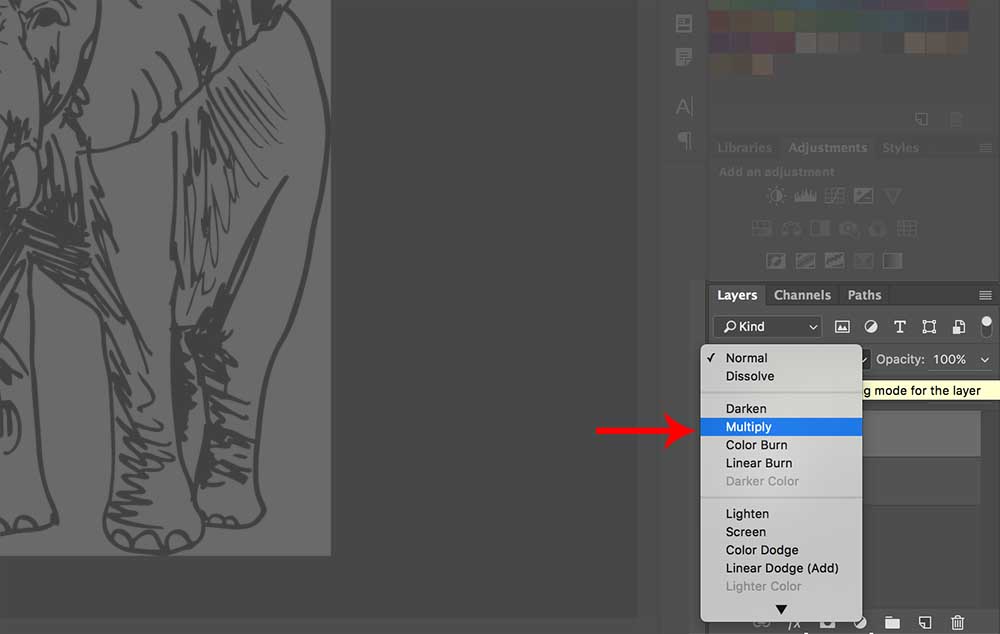
Step Iv: Fix the blending style
With the Layer 0 (the elephant) selected, click on the blending mode button and select "Multiply."

Step Five: Select the background
Select the magic wand tool and click on an area of the image exterior of the elephant (this is where information technology is important that the outline of your illustration not have any gaps). A moving dotted line will appear around the area that you lot selected. If the dotted line does not go around the entire elephant, Ctrl+click (or Control+click on Macs) on a dissimilar function of the background and click "Add To Option." Echo this until all areas around the outline of the elephant are selected.

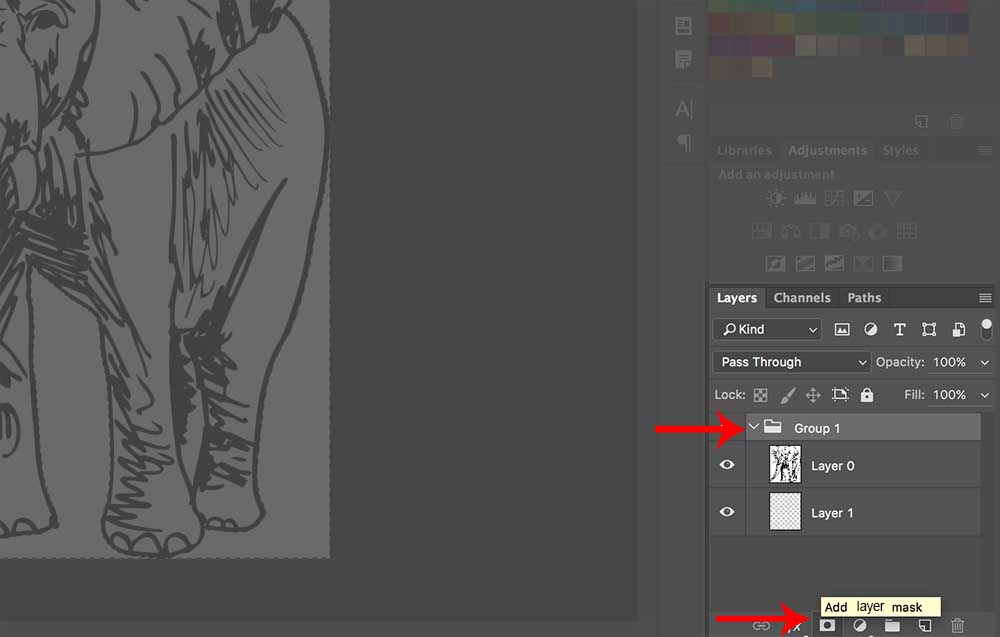
Footstep Half-dozen: Group the layers and add a Layer Mask
Select Layer 0 and Layer ane (y'all tin practise this by clicking on Layer 0, so Ctrl/Command+click on Layer ane). Click Ctrl+G (Command+M) to create a new group from the ii layers. With the area around your illustration still selected (we did this in Step Five), click on "Group 1" and then click "Add layer mask."
Pace Seven: Capsize the layer mask
After you create the layer mask, you'll need to click Ctrl+i (Command+i) to invert the layer mask. This will let you easily to paint inside the lines of your illustration. Once you lot've inverted your layer mask, your illustration should look similar the paradigm below.

Step Eight: Color in your analogy
With "Layer 1" selected, pick a color, click on the paintbrush tool, and start coloring! Because of the layer mask we created in Step Vii, you can just color inside the elephant. This makes adding colour to an epitome a lot easier because y'all don't have to worry about staying "inside the lines."
For this tutorial, nosotros colored the entire elephant in a calorie-free grayness, made the tusks white, then selected a darker gray to add together some shadows and depth to the illustration.

You lot could stop here and you'd accept a cracking elephant illustration that you tin add to any graphic. However, if you'd like to add a background to your image, read on for some bonus steps.
Bonus: Add a background
Create a new layer (make certain that it isoutside of Grouping 1). Drag the layer below Group 1 and pick a color for your background. With your new layer selected, click Alt+delete (Choice+delete on Macs) and the entire background of the illustration volition be filled in with the color of your pick.


Before & Subsequently

That's information technology! Y'all've successfully colored in an illustration in Photoshop. You can now use this aforementioned tutorial with other stock black and white illustrations from the Storyblocks library.
- Tags:
- Adobe Photoshop,
- images,
![]()

Source: https://blog.storyblocks.com/tutorials/how-to-color-illustrations-in-photoshop/
Posted by: simmonsrons1966.blogspot.com
0 Response to "How To Color Drawings In Photoshop"
Post a Comment